Garlic Bread- The most Luring Bread Variety

Garlic bread is a great appetizer. This a very easy and simple way to make your own.

Pasta in chilli Sauce

Pasta has become a weekly dinner for us. This is yet another very easy and quick to make Pasta recipe.

Coconut Cookies

A Yummy delight. Easy, simple and delicious cookies make at home within minutes.

Capsicum Rice - Must try!

Capsicum + Rice = Delicious! , A must try vegetarian healthy recipe.

Healthy Spinach Rolls

Easy and healthy snack ,the kids will love.

SUBSCRIBE via RSS
What is RSS?

OR SUBSCRIBE Via email:
Showing posts with label Basics. Show all posts

11.16.2008

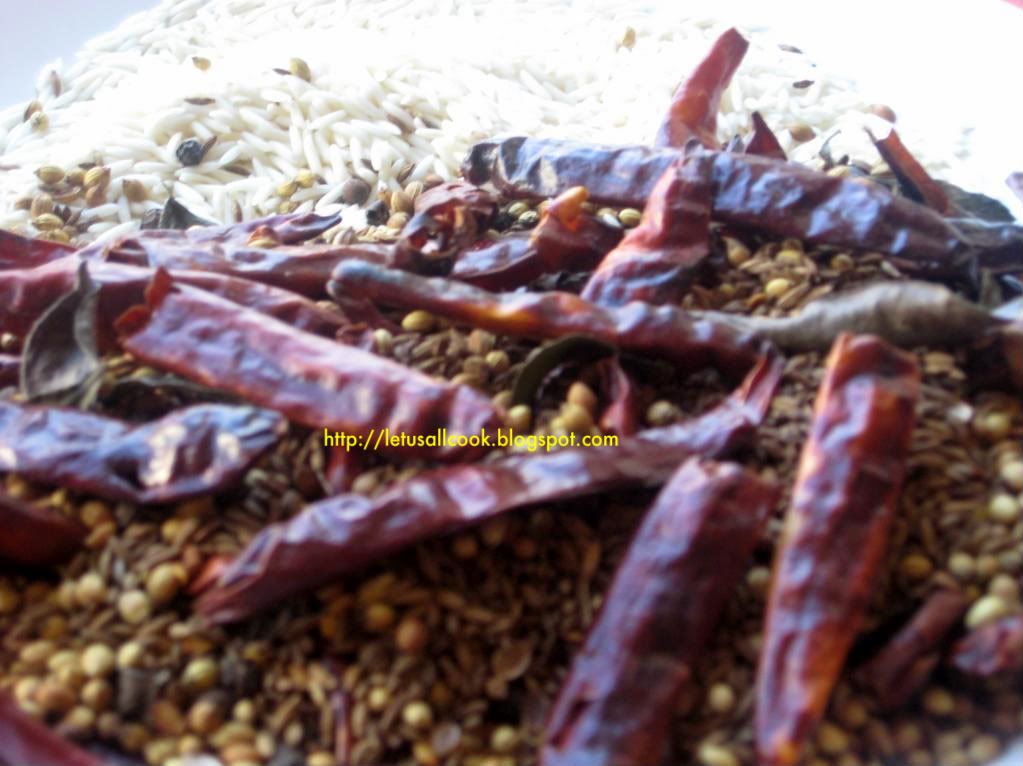
Milagai Podi/Chilli powder- An easy Side dish for many South Indian Tiffen Recipes

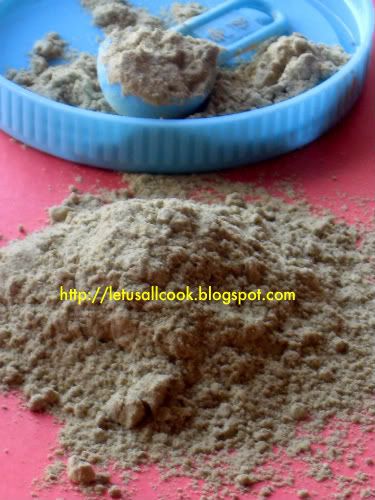
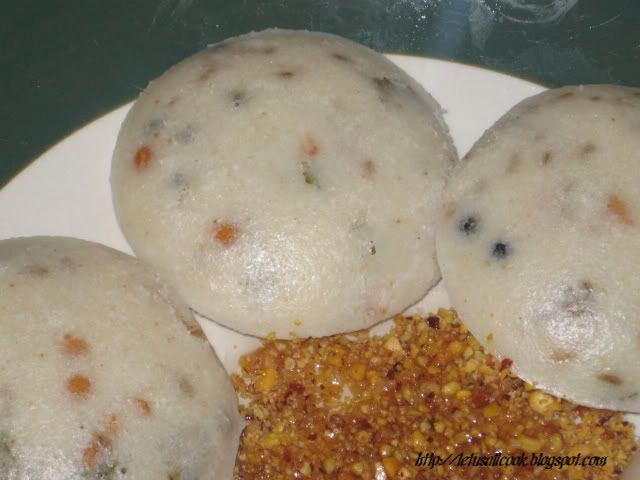
When I hear the word Milagai podi, which is a Tamil word for Chilli powder, I immediately get reminded of Idly and Dosa. This is a very famous side dish for these south Indian Tiffen recipes. They make the tiffen spicy and yummy to eat.

Milagai Podi

There are different ways of preparing this Milagai powder which is used as a side dish. But here I have combined my mothers and my mother-in-law's method.

Ingredients:

1 cup dry red chillies
1 tbspn Channa Dal
1/2 tbspn Urad Dal
1/2 tbspn Dhaniya (Coriander seeds)
3-4 Garlic Flakes

Method:

In a pan, roast the urad and channa dal until they become light brown.

Now add the coriander seeds and fry for few seconds.

Add the red chillies and garlic and fry for few seconds.

Cool the mixture and grind it.

You can either grind it into a very fine powder or coarse powder.

I generally make them coarse because we love the crunchy effect that this powder produces.

Add 2 tsp of this powder and add some oil and mix them together. Eat them with Idly/Dosa.YUM!

Note: You can store this powder upto 1 week in an air tight container.
11.08.2008

A Special soup powder (Pepper Powder) reicpe

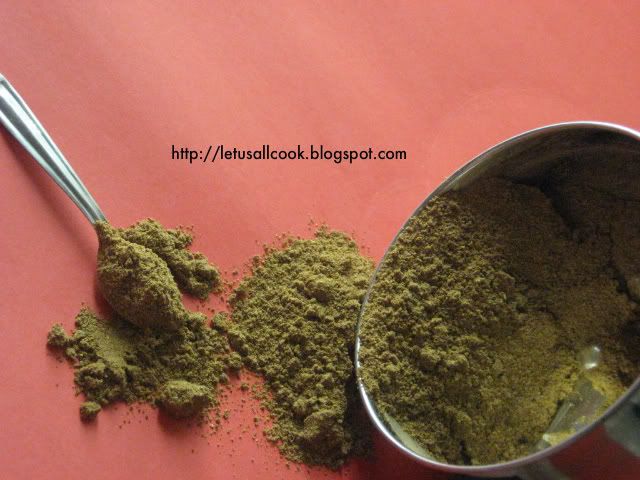
I learnt this Soup powder from my mother-in-law. She makes a different kind of tomato soup where she adds this powder finally to give a very spice taste. She also use this powder to Cauliflower curry and it makes the cauliflower to taste like chicken. All non vegetarians who want to become vegans or vegetarians can try this powder in few of their recipes to give the taste they have been eating.

Special Soup pepper powder

Ingredients:

50g of Pepper corns
100g of Coriander seeds/ Dhaniya
1 1/2 tsp of Sombhu/Fennel Seeds

Method:

In a pan, fry all the three together for 2 -3min.

Cool the mixture and grind it to a fine powder.

You can use this for any soup instead of pepper powder and also to currys.

11.07.2008

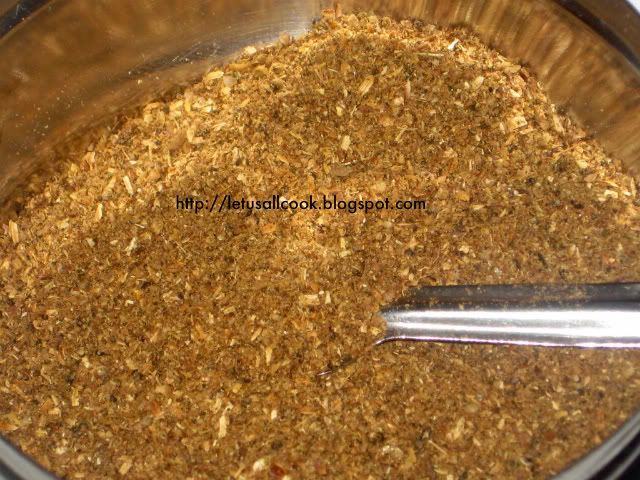
Homemade curryleaf/Kariveppilai powder

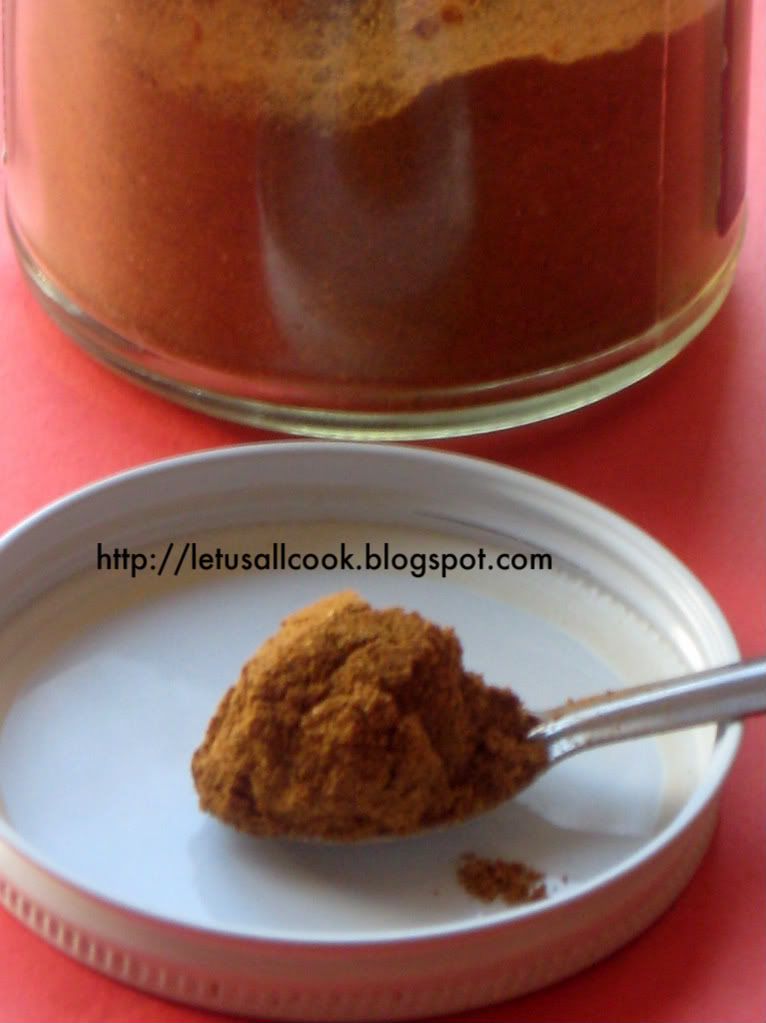
Curry Leaf Powder is a very useful powder as far as I am concerned. Why? because it can be used to garnish many side dish recipes. It is simple and easy to make. You can also eat them with white rice by adding a little amount of ghee or with Idly/Dosa. They really taste delicious.

Curry leaf Powder

I used to buy curry leaf powder from shop but nothing could beat my mother's curry leaf powder recipe. So started to prepare it at home. Here I am sharing the homemade curry leaf powder recipe to kindle your taste buds.


Ingredients:

1/2 cup Channa dal
1 cup Curry leaves
4-5 Red Chillies
1/2 tsp Fenugreek seeds & cumin seeds, together
1 tsp Oil
1 tbsp pepper corns
Salt to taste
Pinch of Hing


Method:

In a pan, add oil and channa dal. Fry until they are brown.

Add the Fenugreek seeds & cumin seeds.

Now add the red chillies, saute.

Add the pepper corns and saute.

Add the curry leaves and mix well.

Note that all the ingredients must be dry before grinding them, so it is suggested to make curry leaves dry by sauteing in mild flame.

Cool the mixture for some time.

Grind it into a fine powder by adding salt and a pinch of hing.

Note: You can store this powder upto 1 week in an air tight container. You can also store it for more days but as the days go by the aroma and the freshness will get reduced.
11.06.2008

Homemade Rasam Powder

I recently posted about the tomato rasam. Most of time we end up buying the rasam powder from shops. When in India, it was either from my Mom or from my mom-in-law. Sometimes I feel that being away from them makes me learn stuff that I wouldn't have if I was with them.Hmm..I think it is the case with most of us. Is it not?

Rasam Powder

I have been preparing rasam with this powder for a week now and I must say, it tastes like my mother's. Yey! finally! Here is the homemade rasam powder recipe which I learnt from my mother.

Ingredients:

1 cup of Peppercorns
1 cup of cumin seeds
2 1/2 cup of Dhaniya(coriander seeds)
1 cup of toor dhal and channa dal together (optional)

Method:

In a pan, fry all the ingredients till they change light brown.

Allow it to cool

Grind them into fine powder in a blender.

You can store them for a month in an air tight container. Use 1 or 2 spoons of this powder in your rasam preparation. I assure your rasam will taste great and smell awesome!

11.05.2008

Garam Masala - Spice it up!

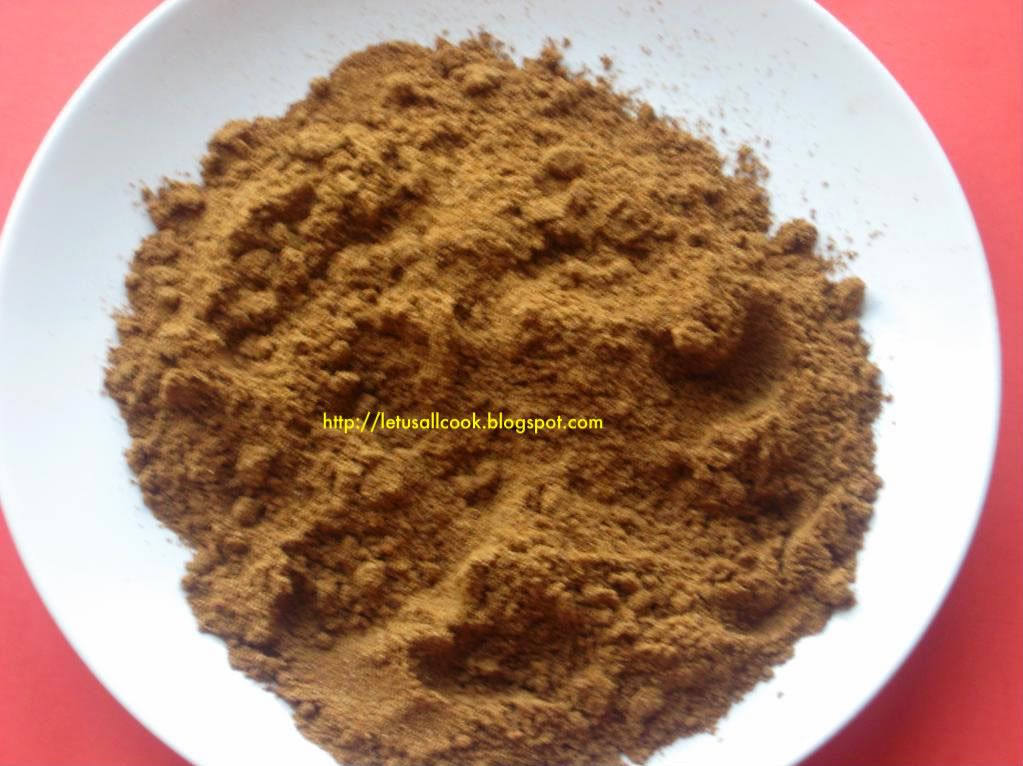
Garam Masala is a spice which plays an important role in almost all the North Indian recipes and few south Indian recipes. It is a spice powder which is used to add the flavor of the recipe. Garam Masala literally means 'Hot Spice'.

Garam Masala

This again can be prepared in many different ways and mostly we will be following our family recipe and here is my family recipe for Garam Masala Powder.

Ingredients:

2 tablespoons cumin seeds
2 tablespoons coriander seeds
2 tablespoons cardamom seeds
2 tablespoons black peppercorns
1 cinnamon stick
1 teaspoon whole cloves
1 teaspoon grated nutmeg


Instructions:

In a pan, add all the spices and fry them for few minutes until they turn light brown in color and your kitchen is filled with their aroma.

Allow it to cool.

Grind the mixture into a fine powder.

You can store this powder for 1 month in an air tight container.

This powder is used in many of the North Indian side dishes. Here are some of the recipes which uses Garam masala in their preperation.

10.29.2008

How to make Authentic South Indian Sambhar powder

Sambhar is a very common side dish when it comes to South Indian cooking. It is very easy to prepare too. I have tasted Sambhar in different places and all tastes differently. The main process of preparing the Sambhar is the same, then how come this difference in taste? It is because of the Sambhar Powder that they use in their recipe.

Sambhar Powder

Each family has its own way of preparing Sambhar powder. This is the main ingredient that gives the flavor to the recipe. I would like to share my family recipe for preparing this Sambhar powder.

Ingredients:

100g Dry Red Chilli

250g Coriander seeds (Dhaniya)

25g Whole black peppercorns

25g Cumin Seeds

1 tsp Fenugreek seeds

2 strands of Curry leaves

2 tsp Hing Powder

1/2 cup puffed rice (Pori in Tamil)

Sambhar Powder

Method:

In a pan, fry the puffed rice till light brown. Allow it to cool.

In a separate pan, add all the ingredients except the puffed rice and fry till they turn light brown and you get the aroma.

Allow it to cool and blend it in a mixer/blender into a very smooth powder.

Generally in India, there are places, where they have huge machines to grind these into powder. This results in a very smooth powder. If we do it at home, we have to make sure that it is grind to a very fine powder.

Note:

It is suggested to prepare the sambhar powder in small quantity so that the flavor is not lost.

You can store this powder for a month without losing its flavor.

Each family has its own way of preparing this Sambhar Powder, Do you follow a different method? Please share it with us.

9.17.2008

How to prepare Vegetable Stock

Stock is a flavoured liquid. It forms a basis for many of the Chinese food. Not only Chinese food, many Indo Chinese/Thai food. Many soup recipe calls for this vegetable/chicken stock as a main ingredient to add flavour to the food. I did not know that these stock play a major role in these soup recipes. Once I came to know, I thought it is one of the difficult process to prepare these stocks. But, I was proved wrong. Preparing vegetable stock is one of the easiest process. I am sharing a video from Vahrehvah for letting people like me to know how to prepare vegetable stock.


A few basic rules commonly prescribed for preparing stock from Wiki:

-The stock ingredients are boiled starting with cold water. This promotes the extraction of protein, which may be sealed in by hot water.

-Stocks are simmered gently, with bubbles just breaking the surface, and not boiled. If a stock is boiled, it will be cloudy.

-Salt is usually not added to a stock, as this causes it to become too salty, since most stocks are reduced to make soups and sauces.

-Meat is added to a stock before vegetables, and the "scum" that rises to the surface is skimmed off before further ingredients are added.

9.11.2008

Microwave Cooking - Basic Guide and How to!


Do you feel that you don't have time to cook? Do you like using technology in cooking? Are you a health freak? If yes, this is what you are looking for. Microwave Cooking - The wonder of technology making life in the kitchen easy, healthy and beautiful! As everyone, even I love cooking with a microwave not only because it is easy, but because I have bought one recently. Not every one knows how to use a microwave. I have an aunt who got a microwave as a gift which she uses only to roast 'Papads'. But it is not designed only for that. Microwave is a gift to cooking. Even I am not an expert when it comes to Microwave Cooking. After some researching, I came up with this mini guide which may come handy and will be useful.

Microwave cooking


Why use Microwave?

As you might be aware of Microwave cooking is

-Easy
-Healthy, as the nutrients are preserved.
-Quick, hurray! we have more time.


Not all food can be prepared using Microwave. Only few Microwaves well i.e. cooks well. Using food that are not suited for microwaving can not only spoil the recipe, but also damage the microwave oven itself! It is a costly mistake.Take care!

Food that can be cooked in Microwave:

-Fish
-Whole fruits and Vegetables
-All Poultry
-Sauces and custard

Food to avoid:

-Do not try to hard boil eggs. That is not going to happen with microwave oven.
-Batters and Pancakes
-Roasting large turkeys/Hams as it will get cooked unevenly
-Do not try to deep fry!


Cleaning:

This is one of the most important and the most easiest work as far as this appliance is concerned. You can clean in minutes.

-Use Soft Sponges or cloth to clean
-Use dish washing liquid
-Deodorize by keeping the door open for some time and cleaning with baking soda dissolved in warm water.
-Another simple way to deodorize (Which I normally do) is by using the below recipe.

1 cup of water
2 slices of lemon OR few mixed spices (like cinnamon stick,bay leave etc)

Heat on high for 2 to 3 min or until the water is boiling. Now remove the water
and you are left with a fresh smelling new microwave.

Cooking Equipment:

Every time when I use a vessel in microwave oven, I get worried if I am using the right one as using the wrong dishes might spoil your oven. Here are a few you can use,

-Glass-ceramic
-Porcelain
-oven proof glass bowls and dishes
-Casseroles
-Plastic containers which are marked oven/dishwasher safe

Do not use:

-any metal container
-recycled paper
-Plastics that are not marked as oven safe.

Now a days we have even cake pans, loaf pans and baking molds suitable for microwaving.

Mostly round containers are preferred to rectangle or square shaped containers for microwave cooking. The corners get more microwave energy than the center so round is the best shape to cook evenly.

Test your container:

Are you still skeptical in using your container for microwaving? Then do the following test,

Fill the dish/vessel you want to test with cold water

Heat on high for 1 minute

Now check,

If the water is hot and the dish is cold - The dish is safe

If the Dish is hot and water is still cold - No way! Don't use this vessel


General Microwave cooking - Tips and Techniques that can used to cook any food.

- Cover the food while cooking. It helps in cooking evenly and faster.
- Wrap bread with absorbing paper to avoid moisture on the top.
- Arrange the food so that the center has food that needs less heat to cook and the corners have parts that need more heat to cook.
- Pierce the food with toothpick so that it helps in cooking faster.
- Stir the food occasionally as directed in the recipe.
- Always under cook as food still gets cooked during the standing time.
- Be careful while Boiling water, for it can be dangerous sometimes.
- Always follow the recipe.

Few How to :

You might be wondering for what else we can use Microwave oven. Do not worry here comes my favorite part which makes our work easy,

How to Peel Tomato:

Pour 2 cups of boiling water in a microwave safe bowl. Add 2 tomatoes and heat on high for 45 - 60 sec till the skin splits. Cool them and peel the tomatoes with ease.

How to Garlic:

Place 2 -3 cloves on oven floor and heat on high for 15-30 sec. Remove and peel with ease.

How to cook beans:

Pre soak the beans as usual and cook them in a large container, giving space for them to expand.

How to Steam vegetables:

Place them in a bowl with little water, they get cooked with the help of the steam. If you use closed bowls, it gets cooked fast.

To Dos for cooking conventional recipe using Microwave:

We generally go with the same recipe for our favorite food and cooking with microwave needs some modification for the taste to come out right.

- Use less water than you will use generally. For example if your general recipe
needs 1 cup of water, for microwave cooking, use 1/2 to 3/4 cup of water.

- Add more spices

- Add salt after the food is cooked

- Reduce the cooking time by at least half.

Here is a complete guide of how microwave works and cooks food.

Do Not forget to go through the manual before using the microwave oven.

This is just the basics. There are a lot more to learn for mastering the art of microwave cooking, which , I strongly feel, comes only with practice. So why wait? Buy a microwave oven, cook and enjoy!!!

Do you have a tip to share? What is stopping you? Share it with us! appreciate your comments.

8.26.2008

Calling all Food Bloggers for 'The 101 Recipe Series'

When I was browsing through for omelet recipes, I came across a few which was really new to me. With our creativity we can do wonders in cooking. Before this, I knew only 2 ways of preparing omelet. One is with egg white alone and the other with vegetables. But going through these varieties like French omelet,Spanish and Mexican omelet etc made me realise that there are more varieties of omelet to be discovered.

Here is a challenge to our creativity!101 omelet recipes! I hope this will be fun and a treat for all the egg lovers. Not only omelet, we can use our creativity to any recipe and make it a new one.

For the mere sake of fun and more fun, I am starting a new event called 101 recipe series. As of now there is no time limit for this event. Here are the rules.

1. I will be announcing the recipe/food for which we need to derive 101 different ways of preparation.

2. There is no time limit as of now, the first 101 recipes which are unique will be consolidated and presented as 'The 101 Recipes'.

3. Once we get 101 different ways of preparing the dishthe round up will be posted and we will be up for the next 101 recipe series..

4. The first challenge is 101 Omelet recipes.

5. Post a Omelet recipe which is still not yet included in 101 recipe series, link back to this event and send me an email to letusallcook@gmail.com with subject '101 recipe series #1:Omelet' and the following details,

Name:
Recipe Name:
Recipe URL :

You can send in previously posted entries by re posting them and linking it back to the event.

6. I will be updating the omelet recipes immediately so that we can avoid duplication. So do check back this event page before preparing omelet for this event.


7.Not having a blog is no excuse to let you get away with your passion for cooking. Non-Bloggers don't worry, there are always ways to achieve your passion :) please do send me the recipe details as above to the mail given and I will post it in the round-up with your details.

Do let me know if there is any questions and ideas for making this event more fun.

Remember! the first 101 recipes are only counted so hurry up and send in your entries so that we can complete this 101 omelet recipes.


Few Tips for choosing Omelet Pan:

Omelet comes out best with a non-stick pan, preferably aluminum with a nonstick coating. It must have sloping rather than steep sides.


An 8-inch pan is good two egg omelet and a 10-inch pan for a five egg omelet. It depends on the egg size. If it is normal size eggs, the 10 inch pan can be used for 6 egg omelet. But this is when you directly break the eggs over the pan, but if you beat it separately, you can always use a scooping vessel and accommodate it correctly.


Now comes the entries for this 101 omelet series,


1. Vegetable Omelet from Art of cooking Indian food

2. Ham Omelet from Heart and Hearth.

3. Onion Omelet from Ramya's kitchen corner

4. Baked Mushroom Omelet from Priya Easy and Tasty Recipes

5.Potato Omelet from Priya Easy and Tasty Recipes

6.Aloo Gobi Omelet from alexisthetiny

7.French Bean omelet from teczcape - an escape to food

8.Carrot Omelet from Priya Easy and Tasty Recipes

9.Zucchini Omelet from Priya Easy and Tasty Recipes

10.Chicken chunks onion Omelet from Priya Easy and Tasty Recipes

11.Spicy Indian Omelet - Its HOT! from Art of cooking Indian food

12.Eggless Omelet from Myviews

13. Eggless (Maida) Omelet from EC

14.Omelet Dosa from Kitchen chronicles

15.Zucchini Omelet from Kitchen chronicles

16.Green Omelet from Dershana

17.Mixed Omelet from My Spicy Kitchen

18.Shrimp Omelet from Heart and Hearth

19.Mutton kofta omelet from Malar Gandhi

20.mutton kheem omelet from Malar Gandhi

21.Asparagus-Cheese Omlette from Malar Gandhi

22.celery omelet from Malar Gandhi

23.Plain english omelet from Malar Gandhi

24.cheese omelet from Malar Gandhi

25.mushroom omelet from Malar Gandhi

26.green tomato omelet from Malar Gandhi

27.country style omelet from Malar Gandhi

28.Beets Omelet from Priya Easy and Tasty Recipes

29.Bok choy Omelette from Priya Easy and Tasty Recipes

30.Hearty Omelet from Aarti

31.Mushroom Cream Omelet from Priya Easy and Tasty Recipes

32. Dal Omelet from easy2cook recipes

33.Spicy Ginger Omelet from easy2cook recipes

34.Nuts and Cheese Omelet from easy2cook recipes

35.Oregano Omlette from PG's Kitchen Stories

36.Tofu Onion Omelet from Priya Easy and Tasty Recipes

37.Vegetarian's Omelet from Kitchen Cronicles

38.Vegetarian Tofu Omelet from Priya Easy and Tasty Recipes

39.Garlic chives omelet from Priya Easy and Tasty Recipes

40.Greek sausages, sun dried tomatoes and onion omelette from Ivy

41.Mushrooms, feta, peppers and onions omelette from Ivy

42.Plain diet omelette from Ivy

43.Spinach Omelet from Gita

44.Cheese and Green onion Omelet from Debi Morris

45.Capsicum cheese Omelet from Shama of Easy2cookrecipes

46.Ratatouille Omelet from Contessa Stern

47.Put in everything omelet by Sudeshana

48.Asiago and Bell pepper Omelet by Caitlin

49.Oven Omelet by best kept recipes

50.100 Simple omelets - 1 page cookbook by Ramki

51,52,53.Spicy Tomato Omelet,Sprouted Omelet,Cauliflower omelet by Shama

54.Italian Frittatta by Raji

55.Vegetable Omelet by Shama

56. Spicy Omelet by Raji Karthik

6.01.2008

Peanut Chutney and 2 awards!

Yesterday was a busy and tiring day. We had to pack for our trip to India. Hurray! At last I get to go to India to see my friends and family. I'll be on a 1 month vacation from jun 4. Lovely isn't it? I am way too excited and looking forward for the same. I had to do all the packing and you all know how it goes with packing. The 2 things that gave me lot of energy was the 2 awards given to me from Uma and Gaurav. Thanks guys! it did boost my energy a lot!

I was given the 'Rocking girl blog' award by uma. I pass this to - swati , Arunthathi , Siri, Srivalli

and 'Good chat blog' award by gaurav and I pass this to all my blog friends who have been so inspiring to comment and chat!

Now for the Peanut chutney.

Ingredients:
1 cup roasted peanuts
2 green chillies
1/4 cup of cilantro
1tsp of urad dal
1tsp of channa dal
4 flakes of garlic
1/4 cup of onions
2tsp of oil
salt to taste
For tadka,
1 tsp oil
1tsp mustard seeds
2 Red chilli whole
Curry leaves

How to prepare Peanut chutney:
In a pan, add some oil and add all the ingredients excepting peanuts and saute them. Let them cool.

In a blender add this mixture along with roasted peanuts and salt.

For tadka, add some oil. add mustard and when it pops add curry leaves and red chilli whole. Serve hot with dosas, idly.

5.22.2008

Mint Chutney


Chutneys are a very basic side dish for many of our Indian snacks, tiffen. Vegetarian or Non-vegetarian, chutneys do with them well. Here I have a recipe of Mint chutney. Personally, I love Mint a lot and they do have medicinal value.

Ingredients:
1 cup of mint leaves washed
1/4 cup of onions
3 flakes of garlic
1-2 Red chilli whole
1tsp cumin seeds
1tsp mustard seeds
A pinch of Hing
1tsp urad dal
1tsp channa dal
Salt to taste
1tsp of oil

Method:

In a Pan, add oil and then cumin seeds. After few seconds. Add onion and saute them.
Add red chillies,garlic and fry then for 1 minute. Now add the mint leaves and fry them.
Let it cool. Add to the blender this mixture, salt and blend it by adding little water.
In a pan, add oil and mustard seeds. When the seeds pops, add hing powder , urad dal,channa dal and fry for few seconds.
Add this to the blended mixture and serve hot.

5.14.2008

Puff Pastry

I love Puffs. who doesn't? In my school days there used to be a canteen and almost daily I used to eat puffs prepared there. Till now, I have never eaten puffs that is more tasty than those canteen puffs. Maybe my mind is fixed with that thought because they were my first puffs. Anyway, after becoming a cook myself, I tried to make puffs, but to be very frank, my puff pastry always ended up in a mess. Why waste time when we get puff pastry ready made in the shops? - This was my thought until I saw this video my vah chef 'Sanjay'. This video made me realise the mistakes I made and also inspired me to try out myself. Guess what? I tried out and to my surprise it came out well for a person who usually messes her pastry ;)

I have embedded this video here. You can also see this various other food preparations at vahrehvah.com


5.11.2008

Mango Pickle Recipe - an easy version


Mango Pickle is one of the most tempting side dish as far as I am concerned. Most of the Indians, especially in Andra, love spicy food and Pickles are no exception. Even they say that pregnant women love mango pickle and consume more of mangoes in their first and second trimesters. There are different varieties of pickle and I mostly have store bought mango pickle at my home. I have always wanted to make mango pickle at home. To start with, I tried a very simple version of mango pickle. In future I am planning to do homemade mango pickle, the difficult version and will surely share the recipe. Here comes my easy version of mango pickle.


Ingredients:


1 Mango (cut into small pieces)

2 tsp of chilli powder

Salt to taste

1tbspn olive oil (or any type of oil)

1 tsp mustard

Hing powder


Method:


Mix the chilli powder, and salt with the mango pieces.


In a pan, add oil and mustard seeds. When the seeds pops add hing powder.


Add this to the mango pieces and mix well.


Refrigerate it in an air tight container for a day and start using it.


Are you waiting for more steps? Then I am sorry. That is all as far as the method goes. It is such an easy preparation that no one would hesitate in preparing it.


This pickle tastes even better the next day of its preparation. Mango pickle goes well with curd rice or even chapatti.

5.08.2008

How to prepare Homemade Ginger Garlic Paste

Ginger Garlic Paste is one of the most frequently used ingredient for most of the spicy food prepared in India. Ginger + Garlic blended together, gives you the Ginger Garlic Paste. Sounds easy right? Yes, it is very easy to prepare this paste. In most of the Indian houses, they prepare this paste at home so that they can use it in their food preparation. However, we get this paste in Indian stores too. But, when you can prepare it by yourself why to waste money on this?

Ingredients:

500 g of Ginger
500 g of Garlic
1 tbsp of Olive Oil

The Ginger and Garlic amount can vary depending on how much paste you want to prepare. The point is keep them both in equal quantities.

Method:

Peal the Garlic and scrape the Ginger and cut them into small pieces.

In a blender add these pieces and olive oil and grind them to a smooth paste.
Store it in an airtight container and keep in the fridge.
This paste can be used for 2 to 3 months.

5.07.2008

How to prepare Raita


Raita is one of the famous side dish in India. Raita goes well with any type of biryani, pulao, chapatti. See my recipes for Vegetarian Main dish and Non vegetarian main dish.
Whenever we feel tired or bored to cook side dish, we can prepare this food as it hardly take 5mts to prepare.
Ingredients:

1 springs coriander leaves/cilantro
2 cups curd
10grams green chillies
10 grams onion
1 pinch salt
10 grams tomato
10 grams of carrot
10 grams of pealed and mashed potato
10 grams of cucumber
Method:
Whisk the curd to fine consistency so that it becomes slightly thicker than butter milk.

Add all the ingredients and mix well.
Check for salt. If you want to add more salt you can do at this time.

You can also prepare this raita with only curd, onion and salt.

5.06.2008

Homemade Yogurt recipe

Making yogurt is an art. If you do even 1 mistake in the process, your yogurt is spoiled. This doesn't mean that making yogurt is difficult. However, it is time consuming. You may wonder why I am wring this as a post. I have seen a lot of people in the U.S buy yogurt from the store and it does cost you around $3.50. When you can make yogurt at home why waste money on this? It is a very simple process and to make homemade yogurt you require the following,

Milk - 1/2 Gallon. This quantity depends on how much yogurt you want to prepare. The more yogurt you want, the more milk you should use.

1/2 cup starter Yogurt. This is nothing but the yogurt you have prepared or bought the previous time. For the first time you need to buy the yogurt. But from then on you can use the homemade yogurt you have prepared.

This is enough if you want to prepare a flavorless plain yogurt. But if you want flavors you can add the flavor syrup like vanilla, strawberry etc to this while preparing.

How to make Homemade Yogurt Recipe

Boil the Milk in a large pot in high flame. In India we have a special vessel for boiling milk. However a pot should do.

When the milk starts to raise switch of the stove and allow the milk to come to the room temperature. This is nothing but heating the milk at 185 degrees and then cooling it to 110 or 100 degrees.

Now add the starter yogurt (for plain yogurt) and the syrup (for flavoured yogurt) and mix well. Allow it to set for 16hrs. This process is called Fermentation.

The temperature of the yogurt must stay between 90 and 110 degrees during this Fermentation time. This can be achieved by keeping the yogurt outside during summer and on all the other seasons place it inside the oven and switch the light on.

Do not set any temperature for the oven. The yogurt will get set with the help of the heat produced by the switch inside the oven.

Do not disturb the yogurt in between this process. This might spoil the yogurt formation.

After 16hrs, refrigerate the yogurt for 2 hrs and the homemade yogurt is ready.

You can use Yogurt in many Indian recipes, but my favorite is curd rice.