
Garlic Bread- The most Luring Bread Variety

Garlic bread is a great appetizer. This a very easy and simple way to make your own.

Pasta in chilli Sauce

Pasta has become a weekly dinner for us. This is yet another very easy and quick to make Pasta recipe.

Coconut Cookies

A Yummy delight. Easy, simple and delicious cookies make at home within minutes.

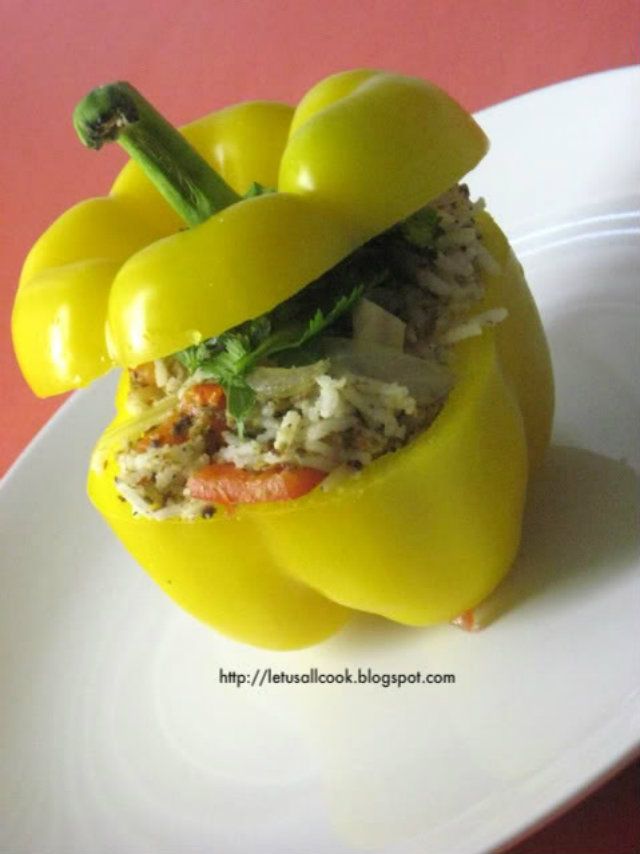
Capsicum Rice - Must try!

Capsicum + Rice = Delicious! , A must try vegetarian healthy recipe.

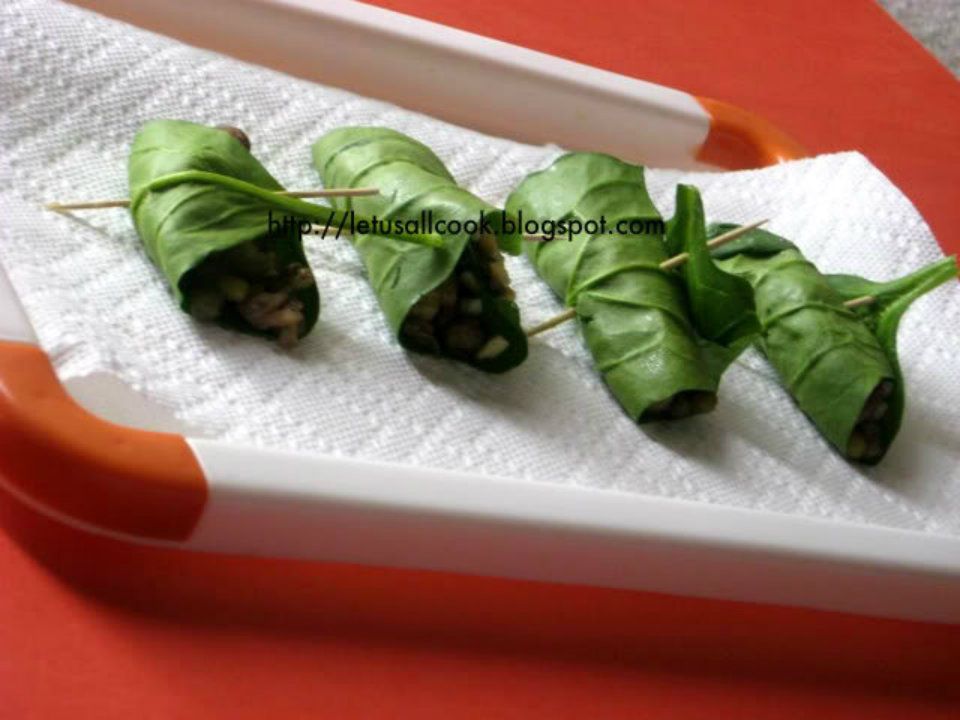
Healthy Spinach Rolls

Easy and healthy snack ,the kids will love.

SUBSCRIBE via RSS
What is RSS?

OR SUBSCRIBE Via email:
Showing posts with label How to. Show all posts

1.22.2013

Food Photography 101- A guest post


Even after so many years of blogging, my blog still lacks good quality pictures and I know that. It is not very hard to take a good picture. But, making it great requires some techniques.  Below are some simple yet effective photography techniques discussed by Biswashree Dey from ITasveer.

Nowadays, it’s becoming increasingly popular for chefs and recipe bloggers to take mouth-watering clicks of their creations. So what does a newbie do to get started? So here is a simple guide to help you kick start your journey.

What do you do when you come across a culinary masterpiece and have no camera at hand? Well now with IPhones and Apps, you need not worry. Here are some apps that help you transform your mediocre photos.

 Apps to use:


  • Instagram and Hipstamatic : They are great for photographing produce and people
  • Filterstorm: A great app you can use for color correction
  • PerfectPhoto : Also for color correction
  • Snapseed : It’s like Photoshop for your IPhone
  • Color Effects : This app enables you to first turn your entire photo to black and white and then use your fingers to return color only to a portion of your photo or change it completely.


Next let’s look at some basic tips to keep in mind when taking a photo.

1. Lighting –

It is very important that the lighting is right. The best place to photograph is near a window                             with lots of natural light diffused with a white curtain. Direct light can be harsh. Best position for light source should be from over your shoulder. Don’t ever use the camera’s in-built flash. It makes the photo look harsh and creates shiny spots. You may use a reflector to bounce off light to cut out shadows and make the lighting better balanced.


2. Colour Balance-


When adequate natural light is unavailable, photos can come out with a yellow or blue glow which makes the food look unappetizing. You can correct this, by correcting the white balance of your camera. Food looks best in a slightly orange glow. Check your manual on how to fix the color balance of your camera.


3. Macro –

Use the macro setting of your camera, so that you can get closer to your subject and create a shallow depth, which allows you to blur the background and focus on the main dish.

4. Position and Proximity –

Experiment with the angle from which you shoot the food. You don’t need to always shoot from above or at eye-level. Try to move closer and farther away from the food.

EQUIPMENT NEEDED :

Camera : A good Canon or Nikon DSLR eg: Canon G15 , Canon 5D Mark III
Lens : Canon 100mm f/2.8 Macro, Canon’s 24–105mm f/4L
A good tripod

You can print out all your food photos and recipes on ITasveer photobooks and turn it into a treasured recipe book. 

12.15.2008

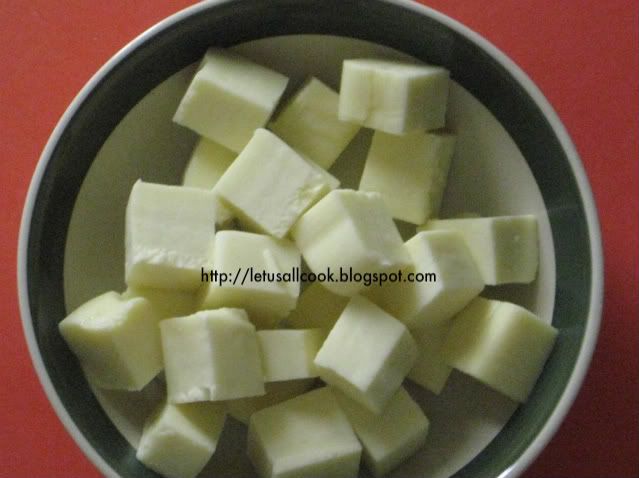
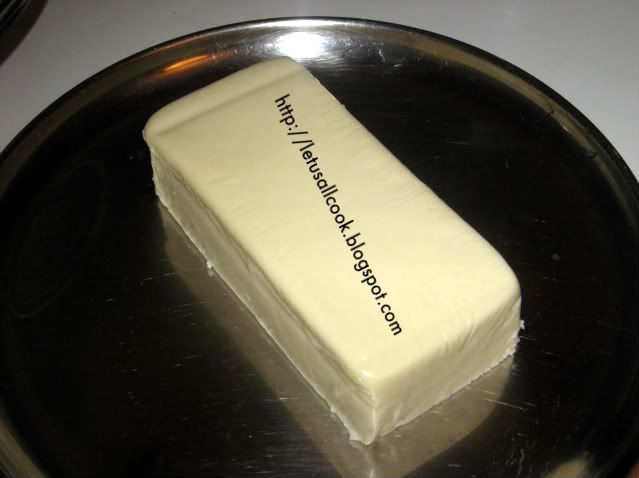
Homemade Paneer : How to

I actually wanted to make a video for this post but, due to various reasons I couldn't. Paneer is a very unique Indian Cheese. It is the only cheese I know which doesn't melt even when you cook them. Interesting isn't it? Paneer is the Indian cottage cheese which is used in many side dishes. The Paneer itself can be prepared adding some flavors to it. But generally a Paneer tastes better when it is in a sauce.

Homemade Paneer- How to

You can easily make homemade paneer. All you need is,

1/2 gallon of whole milk
2 tsp of Lemon juice or vinegar
A muslin cloth
weights or heavy vessel


Method:

In a milk pan, boil the milk. Simmer it and the add the lemon juice to it and wait for it to separate.

Use a muslin cloth for filtering this and use the filtered water to make chapatis or even as a vegetable stock.

Squeeze out the water from the muslin cloth and tie a knot and hang it for 20mts. This will remove the excess moisture present.

Now take the cloth and fold it into a square shape and place a heavy weight on top of it for the paneer to set.

Homemade Paneer-How to

Allow it to set for 45 mts and cut it into small pieces of your shape and size.

Note:

1.It is important you use the paneer as soon as possible. You can also store it in the refrigerator for a couple of days. While doing so, make sure that the cut paneer piece and immersed in water. This will help the paneer to be more soft.

2. If you do not have a muslin cloth, you can use any thin cloth, preferably cotton.

3. You can also add spices and herbs while boiling milk to make different types of Paneer.


I will surely make a video next time when I make Paneer.

You can use this Paneer and prepare Paneer tikka masala, matar paneer etc

12.09.2008

Your content is copied. What next?

Recently I made a video on how to watermark your pictures. In continuation with that video, I would like to add another video about How to deal with copyright issues. In this video you will get to know,

1. How to identify that your content is copied elsewhere?
2. How to find out the contact details of the thief?
3. How to contact the thief and handle the situation?
4. What to mail to the Major search engines seeking help?

I really hope this video would be of great help to all of us. Do let me know your comments and suggestions. If valid, I would be more than happy to add the points to the blog post.

Note: I made this video yesterday afternoon sacrificing my afternoon nap. This made me sound very sleepy and please tolerate it. Do not fall asleep with me watching the video. Hello! the content is vital!


Please note that it is copyscape.com and it is misspelled in the video as copyspace! (Thanks Ramya!)


Resources:

Whois

Very useful information about copyright - I would suggest you to bookmark as she has covered all most all the required points.

Copyscape

11.28.2008

Another simple way to watermark your pictures

If you have been following Cham of spice club, you must already be aware of how to prevent your pictures from being stolen. This is the detailed post that she wrote on watermarking your pictures. I wanted to share my tips too but I am so lazy to write it as a post so I made a video. Please check it out and let me know if you have any questions in watermarking your pictures. I use a free website called Photobucket for watermarking my pictures. You can try them too. Its 100% FREE and very reliable. I have not faced any problems till now.


I am planning to make few other videos related to this topic so stay tuned!

11.16.2008

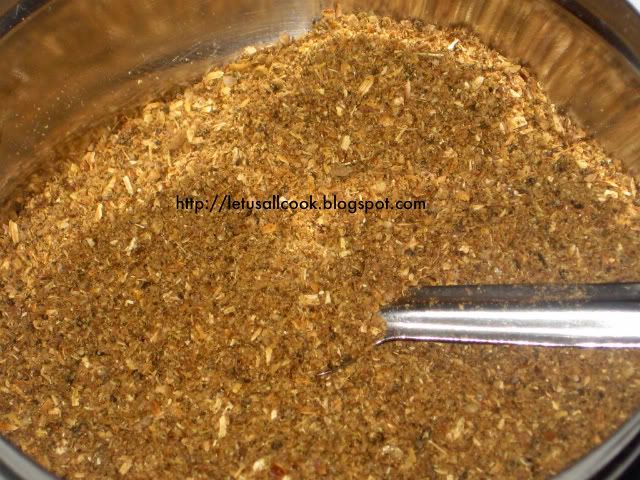
Milagai Podi/Chilli powder- An easy Side dish for many South Indian Tiffen Recipes

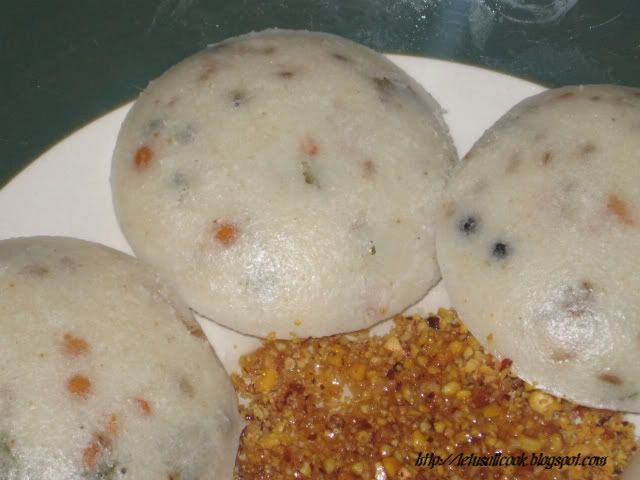
When I hear the word Milagai podi, which is a Tamil word for Chilli powder, I immediately get reminded of Idly and Dosa. This is a very famous side dish for these south Indian Tiffen recipes. They make the tiffen spicy and yummy to eat.

Milagai Podi

There are different ways of preparing this Milagai powder which is used as a side dish. But here I have combined my mothers and my mother-in-law's method.

Ingredients:

1 cup dry red chillies
1 tbspn Channa Dal
1/2 tbspn Urad Dal
1/2 tbspn Dhaniya (Coriander seeds)
3-4 Garlic Flakes

Method:

In a pan, roast the urad and channa dal until they become light brown.

Now add the coriander seeds and fry for few seconds.

Add the red chillies and garlic and fry for few seconds.

Cool the mixture and grind it.

You can either grind it into a very fine powder or coarse powder.

I generally make them coarse because we love the crunchy effect that this powder produces.

Add 2 tsp of this powder and add some oil and mix them together. Eat them with Idly/Dosa.YUM!

Note: You can store this powder upto 1 week in an air tight container.

11.08.2008

A Special soup powder (Pepper Powder) reicpe

I learnt this Soup powder from my mother-in-law. She makes a different kind of tomato soup where she adds this powder finally to give a very spice taste. She also use this powder to Cauliflower curry and it makes the cauliflower to taste like chicken. All non vegetarians who want to become vegans or vegetarians can try this powder in few of their recipes to give the taste they have been eating.

Special Soup pepper powder

Ingredients:

50g of Pepper corns
100g of Coriander seeds/ Dhaniya
1 1/2 tsp of Sombhu/Fennel Seeds

Method:

In a pan, fry all the three together for 2 -3min.

Cool the mixture and grind it to a fine powder.

You can use this for any soup instead of pepper powder and also to currys.

11.07.2008

Homemade curryleaf/Kariveppilai powder

Curry Leaf Powder is a very useful powder as far as I am concerned. Why? because it can be used to garnish many side dish recipes. It is simple and easy to make. You can also eat them with white rice by adding a little amount of ghee or with Idly/Dosa. They really taste delicious.

Curry leaf Powder

I used to buy curry leaf powder from shop but nothing could beat my mother's curry leaf powder recipe. So started to prepare it at home. Here I am sharing the homemade curry leaf powder recipe to kindle your taste buds.


Ingredients:

1/2 cup Channa dal
1 cup Curry leaves
4-5 Red Chillies
1/2 tsp Fenugreek seeds & cumin seeds, together
1 tsp Oil
1 tbsp pepper corns
Salt to taste
Pinch of Hing


Method:

In a pan, add oil and channa dal. Fry until they are brown.

Add the Fenugreek seeds & cumin seeds.

Now add the red chillies, saute.

Add the pepper corns and saute.

Add the curry leaves and mix well.

Note that all the ingredients must be dry before grinding them, so it is suggested to make curry leaves dry by sauteing in mild flame.

Cool the mixture for some time.

Grind it into a fine powder by adding salt and a pinch of hing.

Note: You can store this powder upto 1 week in an air tight container. You can also store it for more days but as the days go by the aroma and the freshness will get reduced.

11.06.2008

Homemade Rasam Powder

I recently posted about the tomato rasam. Most of time we end up buying the rasam powder from shops. When in India, it was either from my Mom or from my mom-in-law. Sometimes I feel that being away from them makes me learn stuff that I wouldn't have if I was with them.Hmm..I think it is the case with most of us. Is it not?

Rasam Powder

I have been preparing rasam with this powder for a week now and I must say, it tastes like my mother's. Yey! finally! Here is the homemade rasam powder recipe which I learnt from my mother.

Ingredients:

1 cup of Peppercorns
1 cup of cumin seeds
2 1/2 cup of Dhaniya(coriander seeds)
1 cup of toor dhal and channa dal together (optional)

Method:

In a pan, fry all the ingredients till they change light brown.

Allow it to cool

Grind them into fine powder in a blender.

You can store them for a month in an air tight container. Use 1 or 2 spoons of this powder in your rasam preparation. I assure your rasam will taste great and smell awesome!

11.05.2008

How to Read a Food Label?

We all know that vegetables, fruits, Wheat bread etc are healthy and very good for our body. But it is not the same always. We do not eat only vegetables and fruits. Most of our diet comprises of different variety of food - Frozen, ready to eat dinner, Bottled juices etc. How do we choose these to become a part of our diet? By reading the Food Label.

Are we reading it correctly? I have always had a doubt and most of the time have read the food label wrong. I would like to share the basic tips and techniques to read the food label. As an example I am taking the below food label from Heath.gov

Read a Food Label

The first thing to look for in a food label is the 'Serving Size'. It is the most important number in the Food label. In our example, it is 1 cup i.e. 228g. If you consume this amount of the food, then you will acquire the mentioned calories and other nutrients. If you are a person who consume double the amount, keep in mind that you will consume twice as much of calories and nutrients mentioned in the food label.

The next section covers the Total calories and the amount of calories from Fat. This number is very useful when you are on a Calorie Diet. A normal body requires nearly 2000 calories per day for men and nearly 1500 calories per day for women. You can plan your meal accordingly.

The next section shares the Total Fat, Cholesterol, Sodium, fiber, carbohydrates, potassium,Vitamins etc. This section is very useful when you are on all carbs diet or Fiber rich diet. It helps to calculate the amount of Fiber, Carbs etc intake.

Make sure you limit the intake of Fat, Sodium, Cholesterol as they are considered to be unhealthy. But do not cut on them completely as our body does require a minimum amount of fat, cholesterol and sodium.

Fiber, Iron, Vitamins and Potassium are good for health and is advised that you consume more of them.

Percentage Daily Value, as mentioned is based on a 2000 calorie diet. This value helps us to balance our diet. For example, if you eat a food which has more %daily value for Fat, then you have to compensate by eating a less %daily value food for that day. By this way your diet is balanced and you stay healthy.

The Food Label also has the ingredient list most of the time. These are the list of ingredients that are exactly present on the food product with the largest amount listed first. For example, if the first ingredient in the Cereal is Sugar and the next is grain, then the cereal is probably high in sugar.

Using the food label and your dietitians advice you can plan a balanced meal every day and stay healthy. Consult your doctor and discuss what your everyday meal should consists of and plan accordingly.

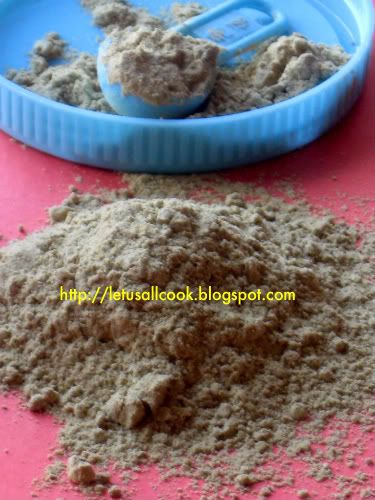
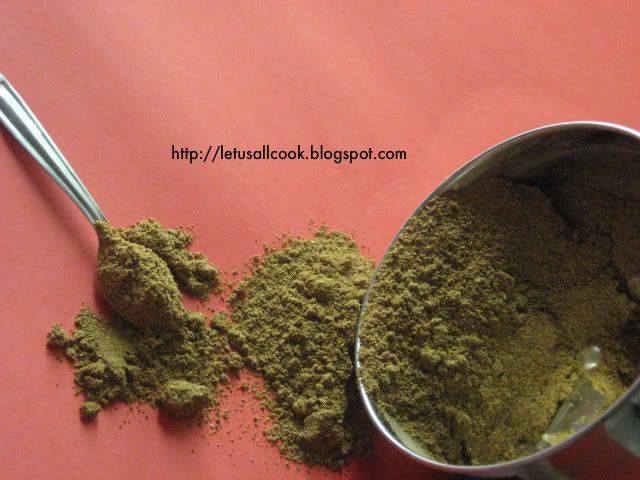
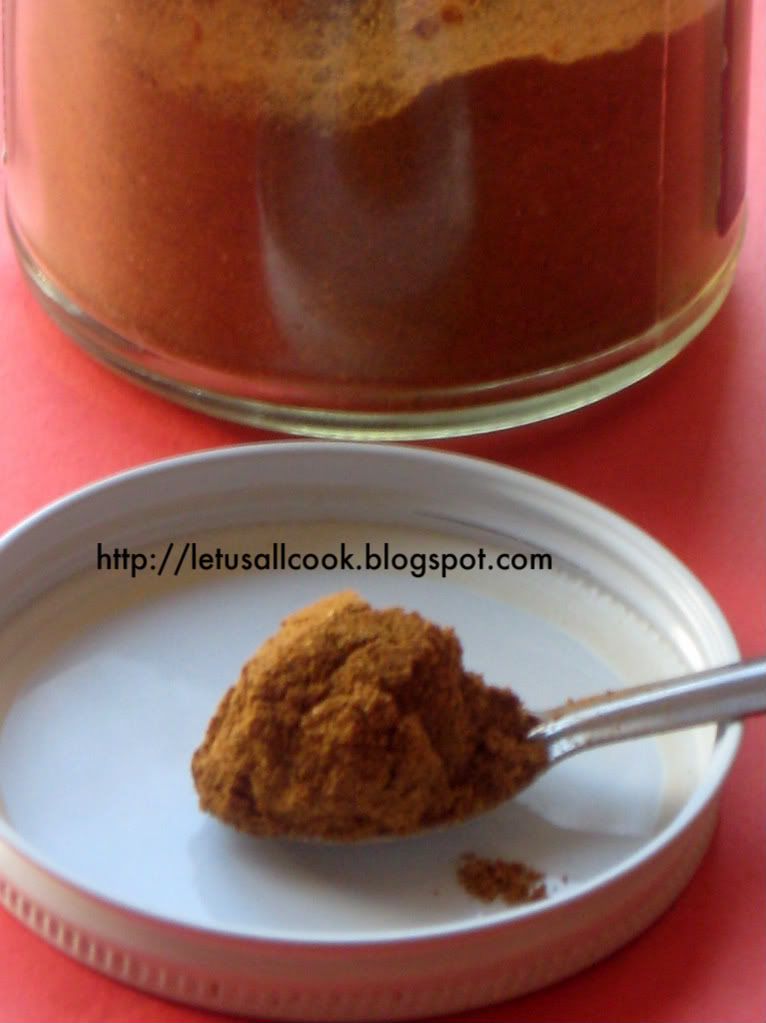
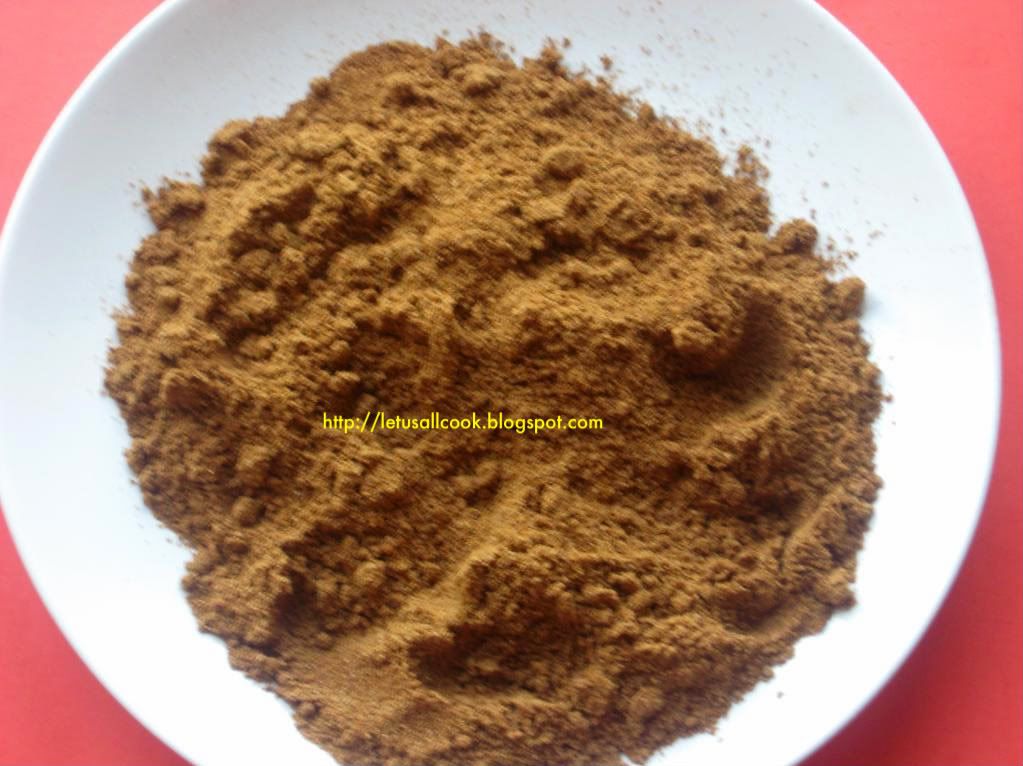
Garam Masala - Spice it up!

Garam Masala is a spice which plays an important role in almost all the North Indian recipes and few south Indian recipes. It is a spice powder which is used to add the flavor of the recipe. Garam Masala literally means 'Hot Spice'.

Garam Masala

This again can be prepared in many different ways and mostly we will be following our family recipe and here is my family recipe for Garam Masala Powder.

Ingredients:

2 tablespoons cumin seeds
2 tablespoons coriander seeds
2 tablespoons cardamom seeds
2 tablespoons black peppercorns
1 cinnamon stick
1 teaspoon whole cloves
1 teaspoon grated nutmeg


Instructions:

In a pan, add all the spices and fry them for few minutes until they turn light brown in color and your kitchen is filled with their aroma.

Allow it to cool.

Grind the mixture into a fine powder.

You can store this powder for 1 month in an air tight container.

This powder is used in many of the North Indian side dishes. Here are some of the recipes which uses Garam masala in their preperation.

10.29.2008

How to make Authentic South Indian Sambhar powder

Sambhar is a very common side dish when it comes to South Indian cooking. It is very easy to prepare too. I have tasted Sambhar in different places and all tastes differently. The main process of preparing the Sambhar is the same, then how come this difference in taste? It is because of the Sambhar Powder that they use in their recipe.

Sambhar Powder

Each family has its own way of preparing Sambhar powder. This is the main ingredient that gives the flavor to the recipe. I would like to share my family recipe for preparing this Sambhar powder.

Ingredients:

100g Dry Red Chilli

250g Coriander seeds (Dhaniya)

25g Whole black peppercorns

25g Cumin Seeds

1 tsp Fenugreek seeds

2 strands of Curry leaves

2 tsp Hing Powder

1/2 cup puffed rice (Pori in Tamil)

Sambhar Powder

Method:

In a pan, fry the puffed rice till light brown. Allow it to cool.

In a separate pan, add all the ingredients except the puffed rice and fry till they turn light brown and you get the aroma.

Allow it to cool and blend it in a mixer/blender into a very smooth powder.

Generally in India, there are places, where they have huge machines to grind these into powder. This results in a very smooth powder. If we do it at home, we have to make sure that it is grind to a very fine powder.

Note:

It is suggested to prepare the sambhar powder in small quantity so that the flavor is not lost.

You can store this powder for a month without losing its flavor.

Each family has its own way of preparing this Sambhar Powder, Do you follow a different method? Please share it with us.

10.26.2008

How to cut a Pineapple? - A step by step video

Always it has been a problem for me to cut a whole pineapple. Most of the time I either end up cutting my finger or wasting the fruit. Recently I learnt a new easy and quick method to cut pineapple and thought I would share with you all. Check out and let me know if this method is easy for you.


10.19.2008

How to make Dosa/Idly batter/dough - A cooking video

I have always wanted to make a recipe/cooking video and share it to the world. But, I was a bit skeptical about how the outcome will be. Recently, with the encouragement of my foodie friends and readers, I have made this video on how to make a Dosa/Idly dough/batter. I have tried to be very clear in my instruction. Please comment on the video and your suggestions are highly appreciated.

I am still not comfortable showing my face in a video. May be I can in my future videos (If I do any). Here is the video for How to make the Dosa/Idly dough at home which is the base for the famous South Indian Recipes Idly and Dosa.


Ingredients:

4 Cup of Boiled Rice/Idly Rice Soaked for 4-5 hours
1 Cup of Urad Dal
1 tsp Fenugreek seeds (optional)

Method:

Add a tsp of fenugreek seeds to the urad dal while soaking. Soak for 45mts.

Grind the Soaked rice and urad dal separately.

Mix them well adding salt.

Allow them to ferment overnight. This process will take 16 - 20 hours.

Use the dough for Idly and Dosa preparation.

Tips:

- Adding Fenugreek seeds will make the Idly soft

- Also you add a pinch of baking powder to make the Idly fluffy and soft.

- You can also add Flattened rice (Aval in Tamil) while grinding the rice, so get crispy dosas and soft idly. You have to soak the flatted rice for 15mts before grinding.


Hope you all enjoyed the video. Please let me know what you think so that I can improve in my next video.

9.26.2008

10 Tips for a successful and fun filled Food Potluck Party

I must say, life in the US is very different for me from what it was in India. In India, it was mostly going to work, spending time with my family. But here , it is more fun. Mainly because I quit and I am enjoying my life as a full time homemaker! But there is more to it. Here in US, there is a lot of get together.

Photo by Seamus Murray

Even Yesterday we had a small gathering at my place for dinner. Though not a potluck, we had called his colleagues for dinner (5 of them) and I prepared some of my favorites. Here is the menu for you,

Vada for appetizer
Main course - Bisibelabath, Rasam, Curd rice
Side dishes - Avial, Potato fry, Papads
Dessert - Carrot Kheer

Just wanted to share it with you. I will be posting few of the recipes soon.

The main advantage of Potluck Party is, it is enough if you prepare 1 or 2 recipes and the rest is taken care by others. Potluck means undoubtedly 'Variety'. You will have so much of variety that your tummy will get full just by looking at the food.

What if you are host of the Potluck Party? There are few pointers to be considered for a successful and fun filled potluck parties. Below are the 10 tips that I consider worthy to be shared.

1.Plan well ahead. Maybe 2 weeks before. This gives you lot of time to be creative and make the party a success.

2.Maintain a group list of all the members you are inviting to the party. By this way, you can make sure that each one is informed about the party details. You can also make sure that the items (recipes) don't duplicate by confirming the items with each person and letting others know through group mails.

3.If you are inviting more than 10, make sure you have enough space for the party. If you have a big house, then no worries. But if you live in an apartment, consider hosting it in a clubhouse or a big hall. This way, you can avoid your potluck party look too crowded and the kids will have room to play and run around.

4.Use Paper plates, Plastic Tumblers etc for the party so that you can just use and throw it. This avoids a lot of after party work.

5.To avoid the food becoming cold, make sure you start the party on time. This should not be a problem as you would have already contacted all your party members through the group mail. Also eat first. You can enjoy later. Eating first gives you lot of energy to participate and mingle with the crowd.

6.Share the leftovers. Many a times, potluck dinner/lunch ends with a lot of leftovers. Do not throw it. I bet you won’t. Instead, take them home. Make it a point to take a dish that you have not cooked for the party. By this way, you can eat food cooked by someone else for a change and by commenting the next day about their food, you build a great friendship.

7.For the menu, make sure you have at least 2 in appetizers, main course, Side dish etc. One for vegetarians and one for Non-vegetarians so that you don’t make anyone feel left out. You can check my recipe index for ideas.

8.If you are going to the party with newborns or Toddlers, make sure you have their food and their favorite toy to avoid crying at the party.

9.Not every kid loves these parties. To make it interesting for kids, have some contests or activities. This is why we need to plan (point 1). Few fun activities for kids of age 5 and above,

a.Memory Game – Place say around 20 to 30 things on a table. It can be watch, pen, pencil etc. Make the kids see it for 1 min and then cover them with a cloth. Now ask them to write down the names of the things they remember. The kid with most of the things correct is the winner.

b.Imagination Game – You can show a thing to the kids and ask them to imagine it as something different and write about it. The most creative person is the winner.

10.Plan for mementos. Make the party memorable for your friends. Give them some surprise gifts. You need not spend a lot on this. You can find lots of cheap yet cute gifts in shops.

Have you hosted a potluck party? Though I have attended many Potlucks, I have had a chance to host only once. How many times have you hosted a potluck at your place? Any other interesting tip that you want to share for a successful and fun potluck party? I may have left out some major tips. Please pour in your thoughts!

9.17.2008

How to prepare Vegetable Stock

Stock is a flavoured liquid. It forms a basis for many of the Chinese food. Not only Chinese food, many Indo Chinese/Thai food. Many soup recipe calls for this vegetable/chicken stock as a main ingredient to add flavour to the food. I did not know that these stock play a major role in these soup recipes. Once I came to know, I thought it is one of the difficult process to prepare these stocks. But, I was proved wrong. Preparing vegetable stock is one of the easiest process. I am sharing a video from Vahrehvah for letting people like me to know how to prepare vegetable stock.


A few basic rules commonly prescribed for preparing stock from Wiki:

-The stock ingredients are boiled starting with cold water. This promotes the extraction of protein, which may be sealed in by hot water.

-Stocks are simmered gently, with bubbles just breaking the surface, and not boiled. If a stock is boiled, it will be cloudy.

-Salt is usually not added to a stock, as this causes it to become too salty, since most stocks are reduced to make soups and sauces.

-Meat is added to a stock before vegetables, and the "scum" that rises to the surface is skimmed off before further ingredients are added.

9.11.2008

Microwave Cooking - Basic Guide and How to!


Do you feel that you don't have time to cook? Do you like using technology in cooking? Are you a health freak? If yes, this is what you are looking for. Microwave Cooking - The wonder of technology making life in the kitchen easy, healthy and beautiful! As everyone, even I love cooking with a microwave not only because it is easy, but because I have bought one recently. Not every one knows how to use a microwave. I have an aunt who got a microwave as a gift which she uses only to roast 'Papads'. But it is not designed only for that. Microwave is a gift to cooking. Even I am not an expert when it comes to Microwave Cooking. After some researching, I came up with this mini guide which may come handy and will be useful.

Microwave cooking


Why use Microwave?

As you might be aware of Microwave cooking is

-Easy
-Healthy, as the nutrients are preserved.
-Quick, hurray! we have more time.


Not all food can be prepared using Microwave. Only few Microwaves well i.e. cooks well. Using food that are not suited for microwaving can not only spoil the recipe, but also damage the microwave oven itself! It is a costly mistake.Take care!

Food that can be cooked in Microwave:

-Fish
-Whole fruits and Vegetables
-All Poultry
-Sauces and custard

Food to avoid:

-Do not try to hard boil eggs. That is not going to happen with microwave oven.
-Batters and Pancakes
-Roasting large turkeys/Hams as it will get cooked unevenly
-Do not try to deep fry!


Cleaning:

This is one of the most important and the most easiest work as far as this appliance is concerned. You can clean in minutes.

-Use Soft Sponges or cloth to clean
-Use dish washing liquid
-Deodorize by keeping the door open for some time and cleaning with baking soda dissolved in warm water.
-Another simple way to deodorize (Which I normally do) is by using the below recipe.

1 cup of water
2 slices of lemon OR few mixed spices (like cinnamon stick,bay leave etc)

Heat on high for 2 to 3 min or until the water is boiling. Now remove the water
and you are left with a fresh smelling new microwave.

Cooking Equipment:

Every time when I use a vessel in microwave oven, I get worried if I am using the right one as using the wrong dishes might spoil your oven. Here are a few you can use,

-Glass-ceramic
-Porcelain
-oven proof glass bowls and dishes
-Casseroles
-Plastic containers which are marked oven/dishwasher safe

Do not use:

-any metal container
-recycled paper
-Plastics that are not marked as oven safe.

Now a days we have even cake pans, loaf pans and baking molds suitable for microwaving.

Mostly round containers are preferred to rectangle or square shaped containers for microwave cooking. The corners get more microwave energy than the center so round is the best shape to cook evenly.

Test your container:

Are you still skeptical in using your container for microwaving? Then do the following test,

Fill the dish/vessel you want to test with cold water

Heat on high for 1 minute

Now check,

If the water is hot and the dish is cold - The dish is safe

If the Dish is hot and water is still cold - No way! Don't use this vessel


General Microwave cooking - Tips and Techniques that can used to cook any food.

- Cover the food while cooking. It helps in cooking evenly and faster.
- Wrap bread with absorbing paper to avoid moisture on the top.
- Arrange the food so that the center has food that needs less heat to cook and the corners have parts that need more heat to cook.
- Pierce the food with toothpick so that it helps in cooking faster.
- Stir the food occasionally as directed in the recipe.
- Always under cook as food still gets cooked during the standing time.
- Be careful while Boiling water, for it can be dangerous sometimes.
- Always follow the recipe.

Few How to :

You might be wondering for what else we can use Microwave oven. Do not worry here comes my favorite part which makes our work easy,

How to Peel Tomato:

Pour 2 cups of boiling water in a microwave safe bowl. Add 2 tomatoes and heat on high for 45 - 60 sec till the skin splits. Cool them and peel the tomatoes with ease.

How to Garlic:

Place 2 -3 cloves on oven floor and heat on high for 15-30 sec. Remove and peel with ease.

How to cook beans:

Pre soak the beans as usual and cook them in a large container, giving space for them to expand.

How to Steam vegetables:

Place them in a bowl with little water, they get cooked with the help of the steam. If you use closed bowls, it gets cooked fast.

To Dos for cooking conventional recipe using Microwave:

We generally go with the same recipe for our favorite food and cooking with microwave needs some modification for the taste to come out right.

- Use less water than you will use generally. For example if your general recipe
needs 1 cup of water, for microwave cooking, use 1/2 to 3/4 cup of water.

- Add more spices

- Add salt after the food is cooked

- Reduce the cooking time by at least half.

Here is a complete guide of how microwave works and cooks food.

Do Not forget to go through the manual before using the microwave oven.

This is just the basics. There are a lot more to learn for mastering the art of microwave cooking, which , I strongly feel, comes only with practice. So why wait? Buy a microwave oven, cook and enjoy!!!

Do you have a tip to share? What is stopping you? Share it with us! appreciate your comments.

8.27.2008

Does our New Kitchen Friend ‘ Frozen Food’ have nutrition?

Yesterday, we went grocery shopping and as usual I was standing before the Frozen food aisle and asking permission from my better half for buying frozen vegetables , corn and coconut. It happens always with us. Every time, there will be a series of advice for me before the frozen food aisle from my husband. This time, It was different. He did not say anything. Am I dreaming? Of course not! He could not say anything because I had shown him few articles related to Frozen food and its nutrients. Don’t know if this is the case with you, but the information sure is useful.

Frozen food, as we all know is food preserved by the process of freezing. Ask a working women, I bet she will bless the Frozen food companies. Because of this new boom in the super market, people lead a easy ‘kitchen life’, I would say. For most of the people, cooking is a ‘chore’. Only few people love to cook and others cook just to live.

All those who don’t like to spend more time in the kitchen, have a common friend named ‘Frozen Food’. But is it healthy to live a lifestyle based on frozen food? There is a general thought among people that frozen food is bad for health. But is it really true? Are we eating just junk? Frozen food can save time but is it taking away our health in return?

This made do some research in the Internet to find few facts about this hot frozen food aisle! A Study reveals that last year sales increased by 4.2 per cent, and the frozen vegetable market is growing even faster, with a 6.4 per cent rise. Does it mean that there are more working women/men?A big No. Maybe people have become lazy! Don’t hit me. I am one among them too. C’mon frozen food does make life easy in the kitchen.


Nutrients in Frozen Food Vs Fresh Food:

To be very frank even I believed that frozen food are crap! But, after reading the results of various studies, which all produce the same results, made me realise that ‘frozen food are not bad after all’.

Nutrious frozen food can play role in weight loss programs - Research dietician LeaAnn Carson found that packaged frozen entrées helped loose more weight compared with those who made their own meals.

More studies revealed that the nutrition in frozen food is more or less the same as that of fresh food. Fresh food has marginally more Calcium and potassium to it, but when it comes to Vitamin C, frozen food is the winner. We have to accept that the fresh vegetables lose their nutrients the longer they are out from the ground.Whereas frozen food is carefully packed helping it to hold on to vitamins.


Check out the Frozen Assets from Women’s health magazine.

Note that frozen food do have high chances of getting contaminated if not stored properly.

How to tell if the frozen food has gone bad:

This is a highly sensitive issue. Most of the time we end up eating because we bought them. Most of us really can’t digest the fact that we are wasting food, in turn our hard earned money. But think. Just think. Is it better to throw the spoiled food or sit in our doctors clinic due to food poison. Again, Food poison is a different issue.

The first and foremost rule is, ‘When in doubt, throw it out!’. There are specific rules to be followed for each type of food. For example, beware of lettuce which is watery and has a foul smell. Not only lettuce, any frozen vegetable/fruit/meat, if spoiled can be easily identified by its smell and appearance. Our Nose is our weapon here.

Any canned goods that have become the size or shape of a softball should be disposed of. Carefully.

And there is always the simplest way of finding if the food is spoiled . Check its expiration date.Duh!

Few Do’s and Don'ts in Frozen world:

1.Make sure you do your frozen food shopping last, so that the food is preserved till you get to your home.

2.Make sure that most of the air is removed from the bag which contains the food.

3.Place the frozen food in the freezer immediately after reaching home.

4.When boiling the frozen food, place the food directly from the freezer into the boiling water and serve hot.

5.Microwave the frozen food before cooking. This helps to retain most of the nutrients.

6.Wrap meats and baked goods tightly with foil before you place them in freezer bags to prevent freezer burns.

7.Do not store frozen food for more than 3 months in the case of vegetables, corn, peas,coconut etc.

8.In case of fish,meat, try to use them within a week.

9.Place the food items in the coldest part of your freezer, until they're completely frozen.

10. Checkout the Frozen Food Guide which gives an idea of how to do Frozen food shopping .

How is our experience with frozen food?

Do participate in the survey I am conducting about frozen food, just to learn how many more are like me! Voting poll is placed in my sidebar.

Was there a time your frozen food got spoiled?

Did you experience food poison?

Or Do you give a 100% support to frozen food?

Do Share it with us by leaving a comment. Help us sort out what is best !

Conclusion: I am not promoting Frozen food! These are few facts which I learnt browsing the Internet. It is completely your choice to go with frozen food. But, I can surely say that frozen food are not a bad substitute for fresh food. Both have their advantages and disadvantages, we have to choose wisely between these two so that it best suits our lifestyle and our health.

UPDATE: Here is the result of the Poll which I conducted in my blog for Frozen Food.

The question was : Frozen and You. How often you use it in your diet?
Poll Result :

Poll Result

Once a Week :19%
2 times a week:8%
3 or more times a week:12%
Few times a month:38%
No way:20%

Total votes: 86

5.14.2008

Puff Pastry

I love Puffs. who doesn't? In my school days there used to be a canteen and almost daily I used to eat puffs prepared there. Till now, I have never eaten puffs that is more tasty than those canteen puffs. Maybe my mind is fixed with that thought because they were my first puffs. Anyway, after becoming a cook myself, I tried to make puffs, but to be very frank, my puff pastry always ended up in a mess. Why waste time when we get puff pastry ready made in the shops? - This was my thought until I saw this video my vah chef 'Sanjay'. This video made me realise the mistakes I made and also inspired me to try out myself. Guess what? I tried out and to my surprise it came out well for a person who usually messes her pastry ;)

I have embedded this video here. You can also see this various other food preparations at vahrehvah.com


5.11.2008

Mango Pickle Recipe - an easy version


Mango Pickle is one of the most tempting side dish as far as I am concerned. Most of the Indians, especially in Andra, love spicy food and Pickles are no exception. Even they say that pregnant women love mango pickle and consume more of mangoes in their first and second trimesters. There are different varieties of pickle and I mostly have store bought mango pickle at my home. I have always wanted to make mango pickle at home. To start with, I tried a very simple version of mango pickle. In future I am planning to do homemade mango pickle, the difficult version and will surely share the recipe. Here comes my easy version of mango pickle.


Ingredients:


1 Mango (cut into small pieces)

2 tsp of chilli powder

Salt to taste

1tbspn olive oil (or any type of oil)

1 tsp mustard

Hing powder


Method:


Mix the chilli powder, and salt with the mango pieces.


In a pan, add oil and mustard seeds. When the seeds pops add hing powder.


Add this to the mango pieces and mix well.


Refrigerate it in an air tight container for a day and start using it.


Are you waiting for more steps? Then I am sorry. That is all as far as the method goes. It is such an easy preparation that no one would hesitate in preparing it.


This pickle tastes even better the next day of its preparation. Mango pickle goes well with curd rice or even chapatti.

5.08.2008

How to prepare Homemade Ginger Garlic Paste

Ginger Garlic Paste is one of the most frequently used ingredient for most of the spicy food prepared in India. Ginger + Garlic blended together, gives you the Ginger Garlic Paste. Sounds easy right? Yes, it is very easy to prepare this paste. In most of the Indian houses, they prepare this paste at home so that they can use it in their food preparation. However, we get this paste in Indian stores too. But, when you can prepare it by yourself why to waste money on this?

Ingredients:

500 g of Ginger
500 g of Garlic
1 tbsp of Olive Oil

The Ginger and Garlic amount can vary depending on how much paste you want to prepare. The point is keep them both in equal quantities.

Method:

Peal the Garlic and scrape the Ginger and cut them into small pieces.

In a blender add these pieces and olive oil and grind them to a smooth paste.
Store it in an airtight container and keep in the fridge.
This paste can be used for 2 to 3 months.